With the COVID-19 pandemic forcing students and professors out of the classroom and onto online formats, it’s a prime moment to reflect on my experience creating an online course for students who joined class meetings from distant campuses on separate continents. As a new faculty member at Yale-NUS College in 2015, with a joint Yale School of Forestry & Environmental Studies appointment, I was tasked with creating the first joint class between the two campuses (read here and here). Having never taken an online course myself, I thought excitedly, “This will be a fun challenge!” I hadn’t considered, however, how I would need to alter my small-seminar course structure to fit an online class that would traverse a 12- or 13-hour time difference (Daylight Savings struck in the middle of the semester), with half the students just waking up and the other half at the end of their days, and with few among them who had ever taken a class in this format. Through a lot of trial and error, I built and honed the course, which became a strong link between Yale and Yale-NUS. The process was not easy, however, and I would like to share what I learned.
First, what didn’t work:
- Having half of the class joining from the comfort of their beds, sans camera/facetime, at 7 am local time, with variable Internet speeds led to a lot of frustrating, “Can you hear me? Can you mute yourself? Is the mic on? Can you raise your hand? Are you typing in the chatbox? Do you need to restart your software? Can you join from a landline/phone?” When I moved to 1 synchronous discussion section, I did not allow students to join from wherever they chose – they all had to come to the same classroom to join class remotely. They had to be in the classroom for attendance to count, with a few rare pre-approved exceptions. It helped that our classroom videoconferencing technology improved over the years, so last year I was able to take advantage of the Yale School of Management’s top-rate personal microphone and multi-screen auditorium system, which gave each student the ability to jump into the discussion.
- Complicated software. The school chose Adobe Connect the first year, and although it had tons of bells and whistles, all you really need is a way to show your slides, your face/voice, and see the students. The simpler the better, acknowledging many students have different levels of comfort with new technology. I found Zoom the easiest to use, especially for connecting colleagues and students from developing countries where Internet connections are variable.
- Student-led or moderated discussion. Unless your students have expertly navigated online discussion and know how to engage people from multiple timezones and deal with awkward silences, chances are, they will struggle to balance conversation, elicit responses from counterparts, and achieve the quality of classroom discussion required for a seminar. So, after year one, I always led or moderated class discussions.
- Live lectures that solely use a Powerpoint deck did not work for our class, particularly because my school did not give me the right set-up. If I could have stood in front of a lectern or projector in front of students the way I normally lecture, with an in-room camera or cameraperson following me as I pointed out interesting points on the slide or would be able to sketch things on a whiteboard, the experience would’ve been different. Instead, the school tech administrators plopped a 27″ MacBook Desktop on a desk, told me to sit down and lecture through the built-in webcam. This meant there was a physical barrier between me and the students in the classroom, and the students joining remotely online would only see my face in the corner of Powerpoint slides. So I was forced to think outside the box regarding lecture format.
Here are a few things I changed after the first year that worked much better, both from my perspective and also reflected in teaching evaluations:
- Record online materials that students watch prior to class discussion. Yes, this takes A LOT more work and, for high-quality production, you’ll need to spend a lot more time making slides, and your delivery will need to be more dynamic and appealing. But it’s all worth it. Students regularly commented they liked the flexibility of being able to watch the lecture and online materials at their own pace (sometimes even speeding it up 1.5x). I estimate I spent a minimum of 8 hours on each lecture – from the content and slide prep, to recording, and final post-processing and editing. I learned to make quick corrections live and then go back and post-process later, rather than to stop and start myself. Check with your Center for Teaching and Learning if you have access – I worked with some really wonderful Education Technology Specialist who helped with editing and taught me how to use software like Camstasia so I could make edits myself.
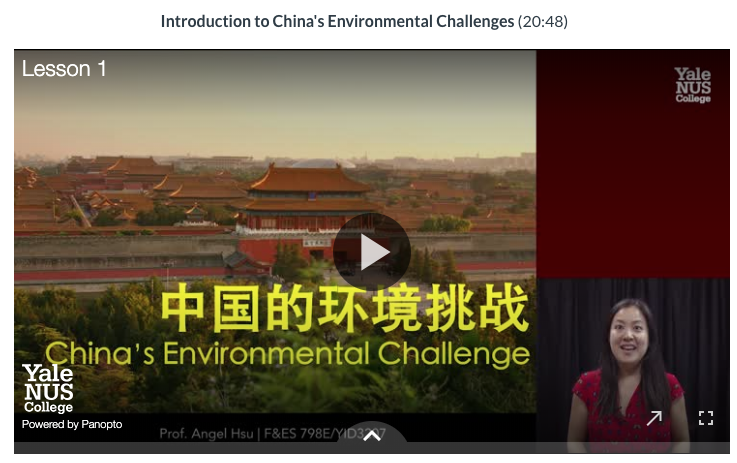 I try to chunk up recorded materials to less than 30 minutes per video to minimize student fatigue. You can see by the animation on my face that I try to keep the energy levels high, acknowledging that no student wants to hear someone drone on and on in a video.
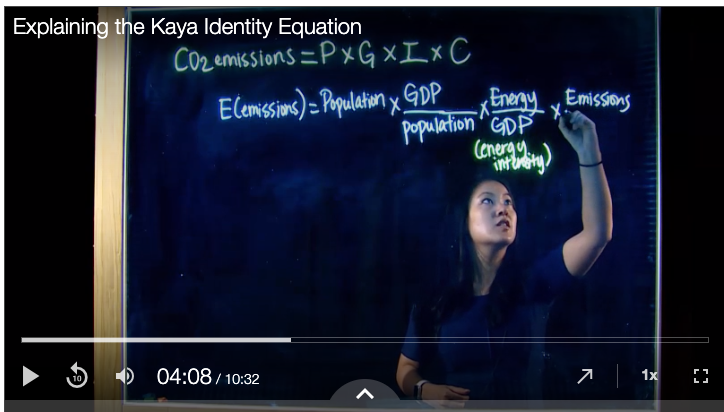 Here I went a little overboard – I enlisted the Yale-NUS production shop in helping me build a lightboard that I had seen in my online pedagogy research. NUS actually has a professional one, but it wasn’t available to me. It’s worth checking university resources first to see what they have available for you to use. This lightboard cost me ~$400 SGD to build and it was easy for me to source the materials (plexiglass, LED lights, 2x4s, neon markers, etc). The visual effect is great, especially for explaining equations and other concepts in real-time in a way that is more interactive and engaging than using a Powerpoint. You also don’t have to deal with reflectance issues when using a regular whiteboard.
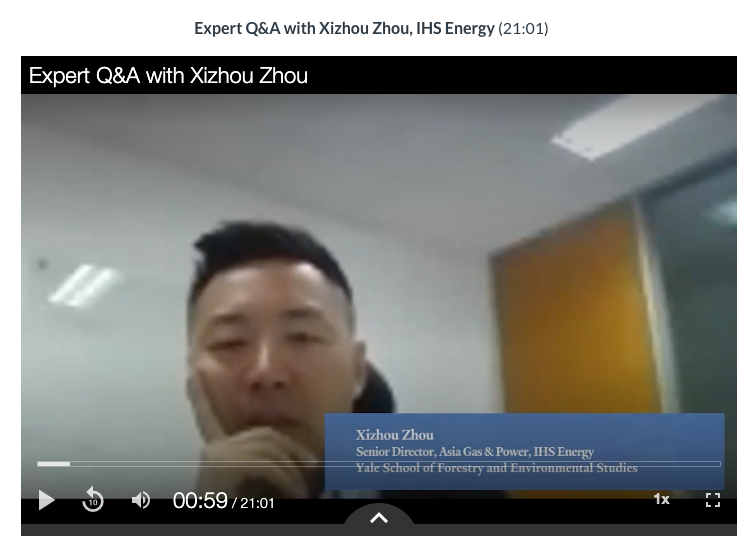 I engaged experts and practitioners in short Q&As instead of creating a scheduling nightmare for guest speakers. This method proved especially clever because many of my speakers were based in China, with variable Internet connections. The 5-question format led by me or my TA allowed for students to hear voices other than my own and perspectives from practitioners the front-lines. The first year I had many of these speakers call-in, and due to the aforementioned technological challenges, the short video conferencing format worked much better and was easier to edit because it was extemporaneous.
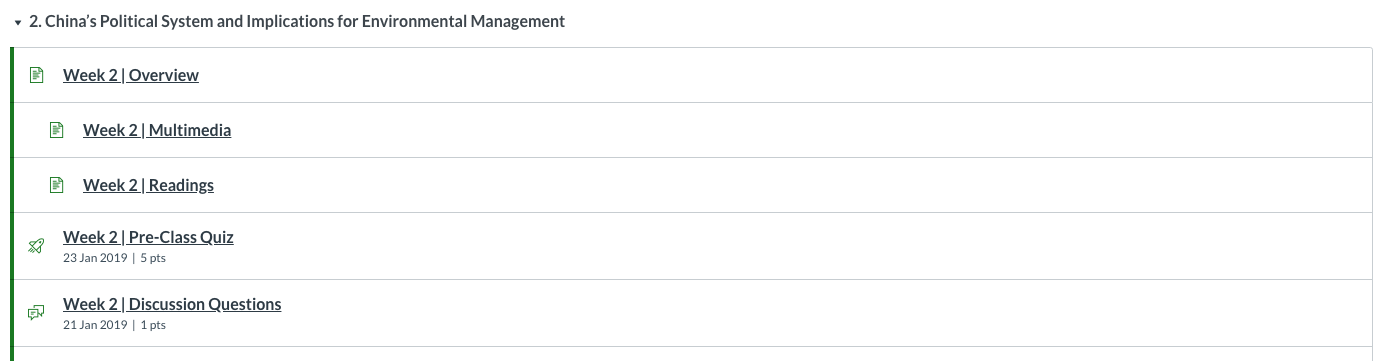
2. Organize online materials in a logical way. This was a trick our Online Education Specialist taught me – jumbling everything together makes for a frustrating experience for students and inevitable emails, “Where do I find this resource?” I went through this structure the first day of class so all students would know how I would organize materials for the class. Think about the online structure as a full-stop shop and bite-sized for each week. I only gave access for each week at a time so to not overwhelm students or have them skip ahead. These section headings allow for separation so students can easily access readings, the pre-class quiz, and submit their discussion materials.
3. Have students complete pre-class work to keep everyone on pace. I experimented with several modes of how to ensure students actually watched the online materials, completed readings, and came to class prepared. The first year I had them submit reading responses, which, if you have diligent students, can be very enlightening and gives students the ability to reflect on the reading. Practically speaking, depending on class size, it may not be feasible to read and comment on every students’ reflection each week, which can frustrate some students who feel that their work is neglected. Students also have a tendency to cherry-pick a few readings, comment perhaps on those, and then ignore the others. When my class scaled from 15 to over 35 students, it was no longer possible for me to keep up with reading responses, so I instituted a Pre-Class quiz, much to the consternation of the students. I gave the overall quiz grade a low weight and repeatedly emphasized it as a checkpoint type of assessment, but this did not allay the fears of many of our grade-conscious students. Still, I found the quizes an effective way to ensure students at least attempted to watch the online materials and do the readings.
By far the best tactic I used to help to identify areas of discussion and confusion in the reading was requiring each student to submit of a discussion question to the entire class. This brought to the fore interesting discussion points and highlighted areas that needed clarification. I would organize these questions thematically and prepare a moderated discussion around them for each class.
4. Be prepared for awkward silences. And don’t let it bother you! Students will also need some transition time to get used to this new format, especially if it is mixed with some students in class and others joining remotely. Students get frustrated and disengaged if they feel as though they don’t have equal footing to participate remotely. Be an active and engaged moderator and don’t be afraid to cut dominating students off. Sometimes I would call on students remotely and sit there until someone joined in to keep the discussion balanced.
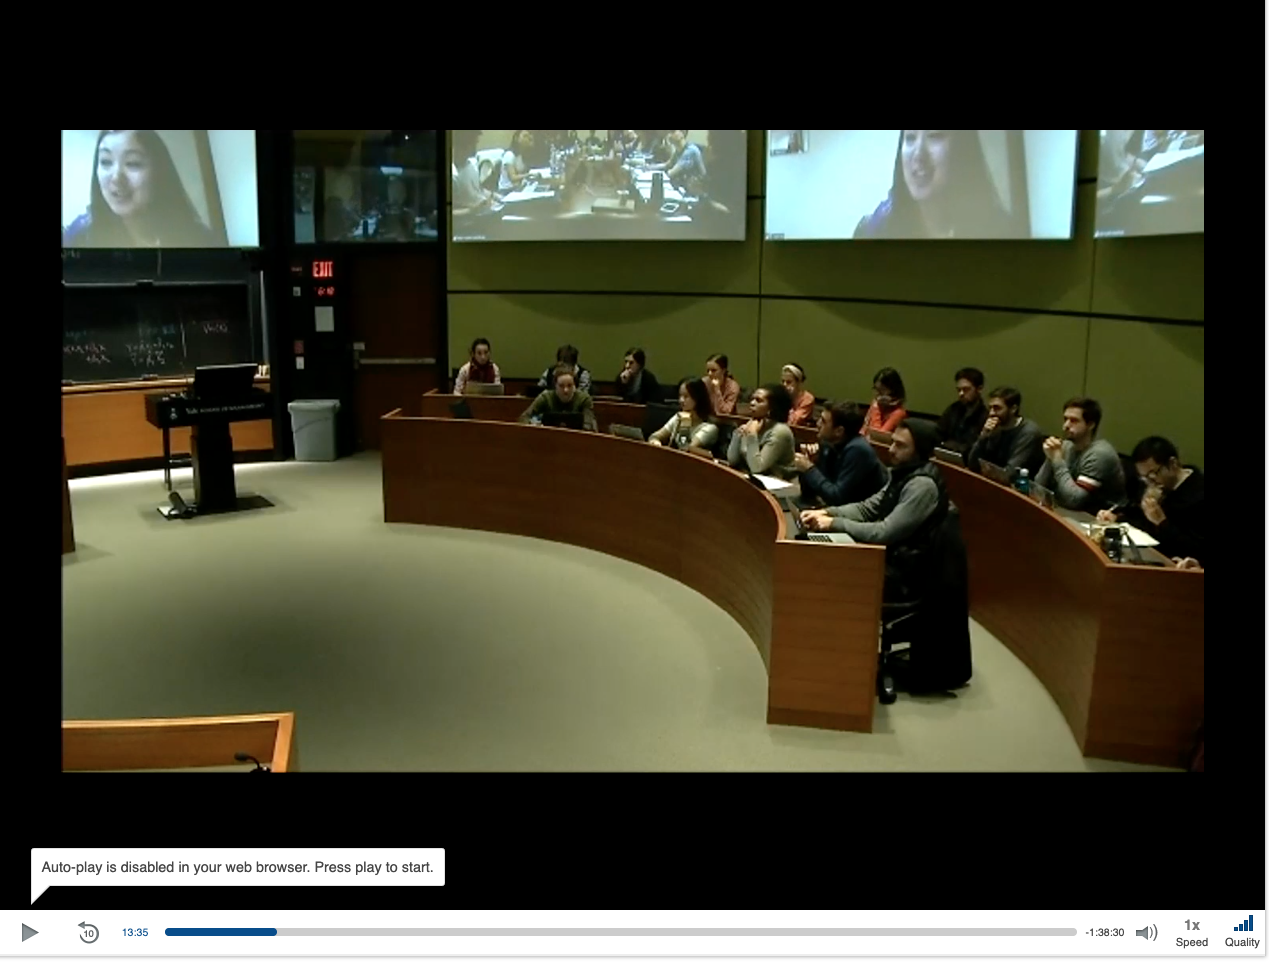 I was very fortunate to have my class cross-listed with Yale School of Management to take advantage of their incredible classrooms. You can see the middle screen panel are students at Yale-NUS College in Singapore, I have my laptop camera turned on so students can see me the whole class, and each student in the classroom has access to their own microphone at their desk. I posted each class session to Canvas after class concluded so students could go back and re-review.
5. Do not be afraid to fail and always advocate for what you need to succeed. I was in the passenger seat the first year and let school administrators tell me what to do. I consulted with a number of wonderful colleagues who made online teaching look easy, yet before I had not realized how much additional work the online format would entail. What works for one instructor and group of students may not work for you. You know how you teach best and how you best engage and connect with your students. By allowing well-meaning staff to dictate software, class times and format, equipment, and technology, I allowed for problems the subverted the class material. But once I began advocating what I needed to succeed, the class got better and better. Once I took ownership of the course, not only of its material but of its format and how it would be delivered, I was able to work much more effectively with the wonderful people in my school’s Center for Teaching and Learning, Education Technology Resources, Infrastructure, Registry, etc. (yes it takes a village!) and ensure that I create the best online experience for my students.
Feel free to leave comments for what has and hasn’t worked for you!
Recent Comments